In the rapidly changing world of digital images, you’ve likely heard the terms photo masking and clipping path in conversations with professional photo editors. Both are effective ways to isolate an object from the background, but they function in entirely different methods and will lead to very different results.
If you have wondered, “When do I use photo masking rather than clipping path?” then you’ve come to the right spot. This detailed guide will explain both photo masking and clipping path, how they differ, when to use them and why understanding each is important for clean photo retouching.
What Is Photo Masking?
Photo masking is a non-destructive image editing technique used to hide or reveal specific parts of an image without deleting any pixels.
In simple terms, it’s like using a digital stencil that lets you control which parts of a photo are visible.
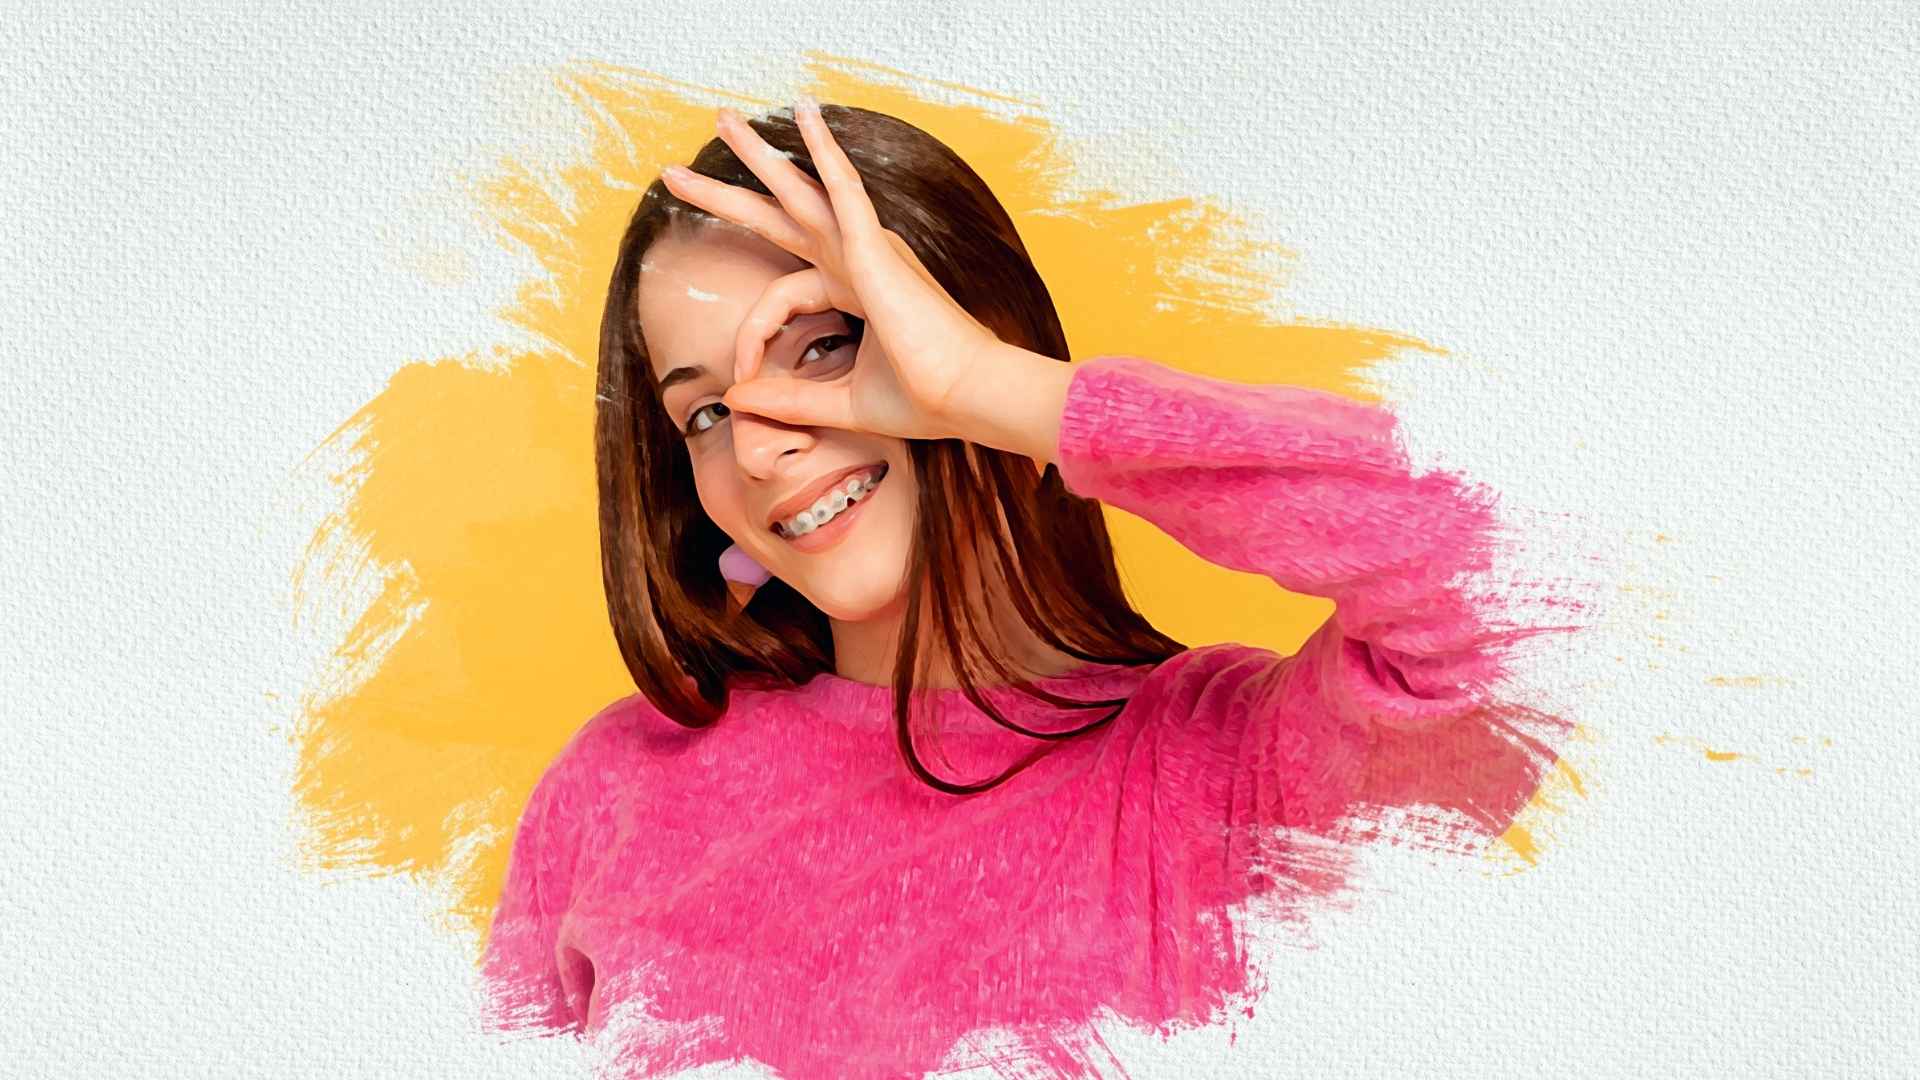
Masking is most often used for images with soft or complex edges, such as:
- Flowing hair or animal fur
- Transparent materials like glass, smoke, or fabric
- Fine details like feathers or reflections
By using layer masks and other Photoshop tools, editors can refine even the tiniest details to make the subject blend naturally with a new background.
Why Photo Masking Matters
Unlike basic background removal, photo masking ensures:
- Every strand of hair or fur remains visible
- Transparent objects maintain their natural opacity
- Shadows and reflections stay realistic
This makes it an essential step for fashion photography, beauty portraits, jewelry retouching, and e-commerce images that demand precision and natural detail.
Types of Photo Masking Techniques
There’s no one-size-fits-all approach to photo masking. Different types of masking are used depending on the image’s complexity and texture.
1. Layer Masking
This is the most basic and widely used masking method.
It uses black, white, and gray tones to hide or reveal parts of a layer.
Gray produces transparency, black hides, and white exposes.
It’s perfect for adjusting or blending specific areas without permanently changing the image.
2. Alpha Channel Masking
When dealing with soft transitions or semi-transparent objects, alpha channel masking becomes crucial.
It involves saving selection areas in Photoshop’s channels palette, allowing editors to refine edges and maintain subtle transparency effects.
It’s especially useful for hair, smoke, or glass.
3. Hair or Fur Masking
Perhaps the most challenging type of masking — this technique preserves fine, individual hair strands and textures.
Using tools like “Select and Mask” or “Refine Edge,” editors can maintain the natural flow of hair while changing or removing the background.
4. Transparent Object Masking
This method handles subjects like glass bottles, sheer fabrics, and water droplets.
It keeps the object’s see-through quality and light reflection intact while replacing the background seamlessly.
What Is a Clipping Path?
A clipping path is a vector-based method used to isolate objects with sharp or defined edges.
Created using Photoshop’s Pen Tool, it outlines an object with precision, creating a path that separates it from its background.
Anything inside the path remains visible; everything outside becomes hidden or removed.
This technique is ideal for:
- Products with solid, straight edges
- Jewelry, furniture, gadgets, and packaging
- Bulk editing for e-commerce platforms like Amazon, eBay, and Shopify
Clipping paths are scalable, editable, and produce perfectly sharp edges — making them the go-to choice for product photography.
Photo Masking vs. Clipping Path — What’s the Difference?
While both methods are used for background removal, their approach and purpose are quite distinct.
| Aspect | Photo Masking | Clipping Path |
| Editing Type | Pixel-based (works on image layers) | Vector-based (uses the Pen Tool) |
| Best For | Complex edges: hair, fur, transparency | Defined edges: products, boxes, shoes |
| Tools Used | Brush Tool, Layer Mask, Refine Edge, Channels | Pen Tool, Path Selection |
| Edge Type | Soft, blurry, semi-transparent | Sharp, solid, geometric |
| Editing Style | Non-destructive (editable anytime) | Destructive if path is deleted |
| Skill Level | Advanced retouching knowledge needed | Moderate; mostly technical precision |
| File Type | Raster images (JPEG, PNG, PSD) | Vector-based (paths stored inside image) |
| Common Use | Model photos, hair, glass, water | Product catalogs, packaging images |
In short:
- Photo masking is like painting details into perfection.
- Clipping path is like cutting out an object with mathematical precision.
When Should You Use Photo Masking?
Use photo masking when you need to maintain softness, transparency, or delicate details.
Here are some ideal scenarios:
- Editing fashion or portrait photos where hair and fabric need a realistic blend.
- Product photography with glass bottles, watches, or liquid elements.
- When backgrounds are complex or textures are hard to define.
- When you want a non-destructive workflow that allows future adjustments.
Example:
A jewelry brand’s campaign shoot involves models wearing crystal earrings and flowing hair.
Clipping path alone won’t capture the shine, transparency, or subtle shadows — photo masking ensures these delicate details remain intact.
When Should You Use Clipping Path?
Clipping path is the better option when your subject has simple or well-defined edges.
It’s best used for:
- Product photography — shoes, furniture, bottles, or boxes
- Advertising and catalogs where consistency matters
- Bulk editing for online stores needing quick turnarounds
- Image manipulation or compositing where precision edges are required
Example:
A clothing brand needs thousands of product photos edited on a pure white background for its website.
Clipping path provides fast, accurate outlines for each image without affecting the rest of the design.
Combining Photo Masking and Clipping Path
Professionals often combine both techniques for superior results.
For example:
- Use clipping path to cut out the body of a model or product.
- Use photo masking around delicate details like hair, fur, or transparent accessories.
This hybrid approach ensures:
- Clean, sharp outlines
- Natural soft edges
- Maximum realism for complex compositions
Pro Tip:
In high-end commercial retouching, combining both methods creates magazine-ready images that look natural yet perfectly refined.
The Advantages of Professional Photo Masking and Clipping Path
Whether you’re managing a product catalog or editing creative portraits, outsourcing these services brings major benefits:
1. Professional Precision
Experienced editors can handle even the most intricate images with pixel-perfect accuracy — saving you hours of manual work.
2. Consistency Across Images
Essential for e-commerce platforms where all products must appear uniform and professional.
3. Cost and Time Efficiency
Editing hundreds of images individually takes time and resources. Professionals deliver faster results without compromising quality.
4. Non-Destructive Workflow
Professional masking ensures that no part of your original image is lost — you can always adjust later if needed.
5. Enhanced Visual Appeal
When done correctly, these techniques highlight your products’ natural beauty, improve brand presentation, and boost online engagement.
Why Choose Photoretouchify for Professional Photo Masking Services
At Photoretouchify, we specialize in photo masking and clipping path services that deliver both accuracy and artistry.
Our team of expert retouchers uses advanced Photoshop techniques to ensure your photos look natural, refined, and ready for any platform — whether it’s your website, print catalog, or social media campaign.
What Sets Us Apart
- Highly trained Photoshop professionals
- Fast delivery without compromising quality
- Affordable pricing for bulk orders
- Strict quality checks for every image
- Non-destructive, high-resolution outputs
From complex hair masking to product cut-outs, we handle every project with precision and care — helping brands like yours stand out visually and professionally.
Bring your images to life with expert retouching.
Visit Photoretouchify.com to explore our professional Photo Masking Services today.
Common Mistakes to Avoid
When choosing between photo masking and clipping path, avoid these common pitfalls:
- Using clipping path for soft-edged subjects — It may leave hard, unrealistic outlines.
- Over-masking transparent objects — Can destroy natural light effects.
- Ignoring image resolution — Low-quality images make precise masking difficult.
- Skipping refinement steps — Always adjust edges with feathering or contrast to maintain realism.
- Not saving editable layers — Keep PSD files layered for future changes.
Final Thoughts
Both photo masking and clipping path are indispensable tools in the world of digital image editing — but they serve different purposes.
- Use clipping path for products, sharp objects, and defined edges.
- Use photo masking for soft edges, transparency, and fine details.
- And when perfection is non-negotiable — combine both for the ultimate professional finish.
Whether you’re preparing e-commerce images or fashion campaigns, choosing the right technique determines how polished and realistic your final photos appear.
Leave a Reply