
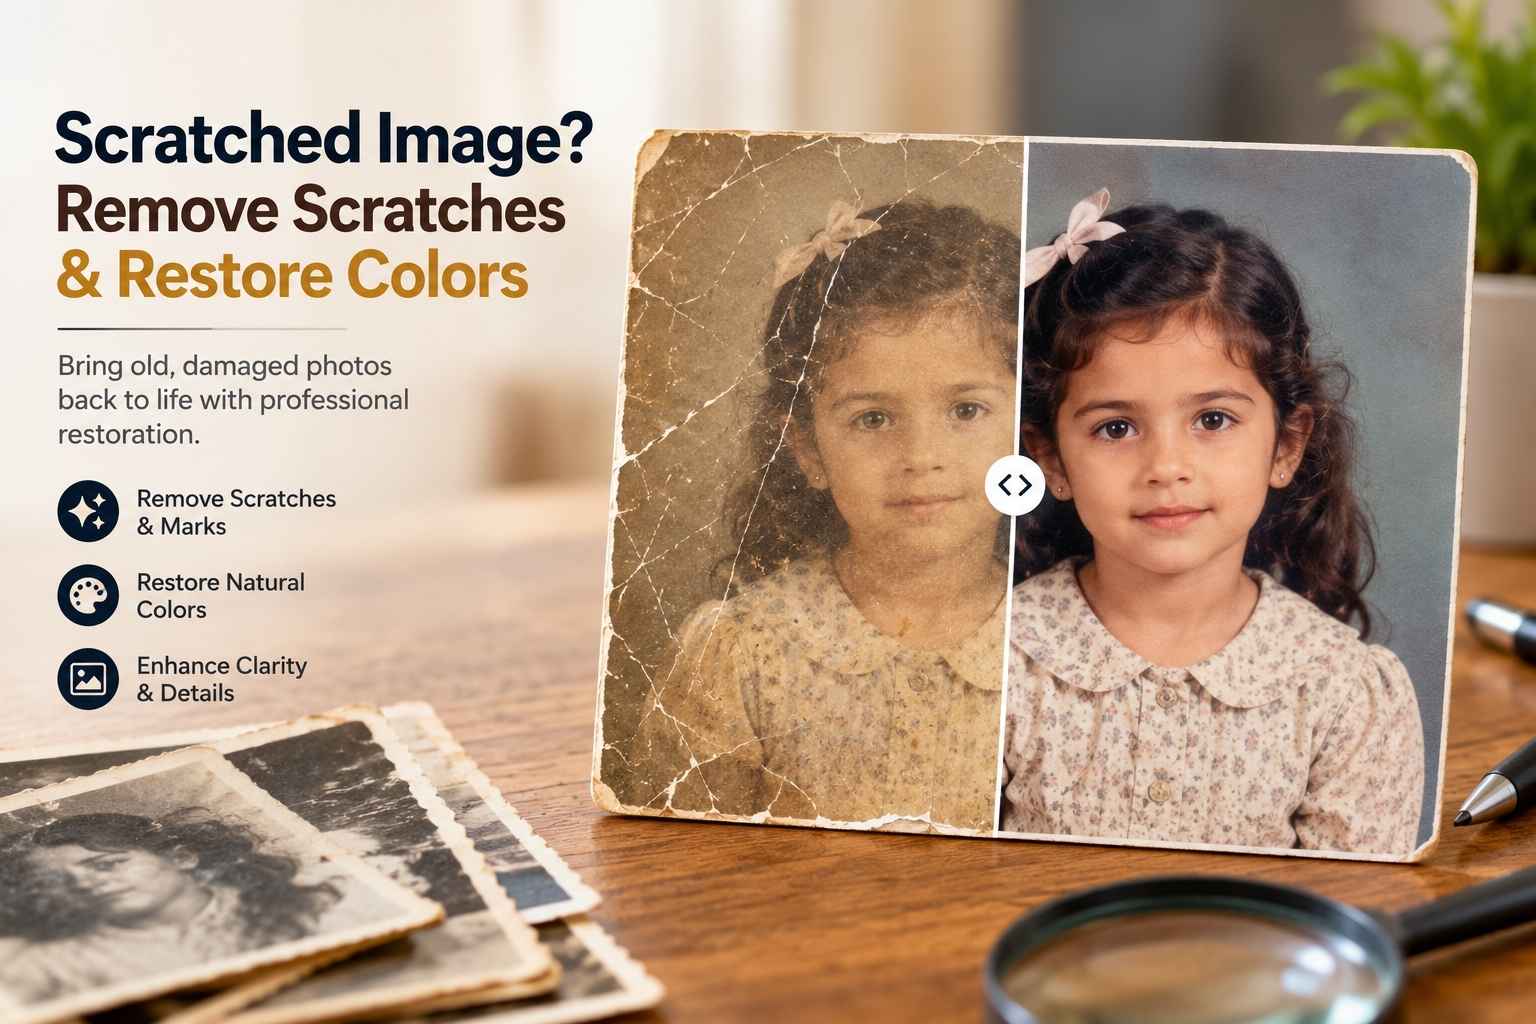
Photos aren’t simply prints; they are memories and records of places and people that made our life beautiful. From childhood pictures to family parties and vacations and weddings, every single one of your pictures is worth being saved. However, there is a problem because printed photos tend to deteriorate with time. Scratches, dust, fading, discoloration, and even incorrect storage may affect their quality and leave them damaged.
However, if you have a scratched image, don’t think that nothing can be done with it. With modern editing technologies, it becomes possible to fix such problems as scratches on your photos, as well as to restore the hidden details and colors of the print that have faded away with time.
Sometimes it is enough to use basic software to fix the problem, although sometimes professional image editing is needed for the photos with the deepest scratches and fading.
If your photograph has extensive damage, you can learn more about professional repair techniques in our detailed guide:
https://photoretouchify.com/blog/photo-restoration-services/
In this article, you’ll learn what causes a scratched image, the best ways to remove scratches from photo prints, how to restore colors, and practical tips for protecting your photographs for years to come.
What Is a Scratched Image?
Scratched photo means a photo with scratches or abrasions on its surface affecting the quality of the picture. Scratches can be small hair-like, deeper grooves or even long lines that appear on significant parts of the photograph. Scratches may blur the face, destroy the details of the background or even spoil the beauty of the photograph.
It should be noted that unlike digital photographs that can only be edited, the printed photographs have to endure many different kinds of wear during their life-time. Each time the photos are handled or moved, their risk of scratches increases.
Fortunately, contemporary digital technology allows repairing most of the scratches without changing the natural look of the photograph.
Common Types of Scratches on Photographs
Not all scratches look the same. Understanding the type of damage helps determine the best repair method.
Common examples include:
- Fine surface scratches caused by regular handling
- Deep scratches that remove important image details
- Long abrasion marks created by sliding photographs across rough surfaces
- Hairline scratches visible under bright light
- Scratches combined with stains, dust, or faded areas
Minor scratches are often easier to repair, while deeper damage usually requires manual editing to rebuild missing textures and restore hidden details.
How Scratches Affect Image Quality
A scratched image becomes significantly less attractive as the scratches affect the essential parts of the photograph. The facial expressions, fabrics, landscapes, and ornaments can be partly obscured by the scratches.
Furthermore, scratches make any color fading obvious. The colors usually look faded or even dull in the scratched area, which makes it imperative to fix the colors as well after fixing the scratches.
Signs That Your Photo Needs Repair
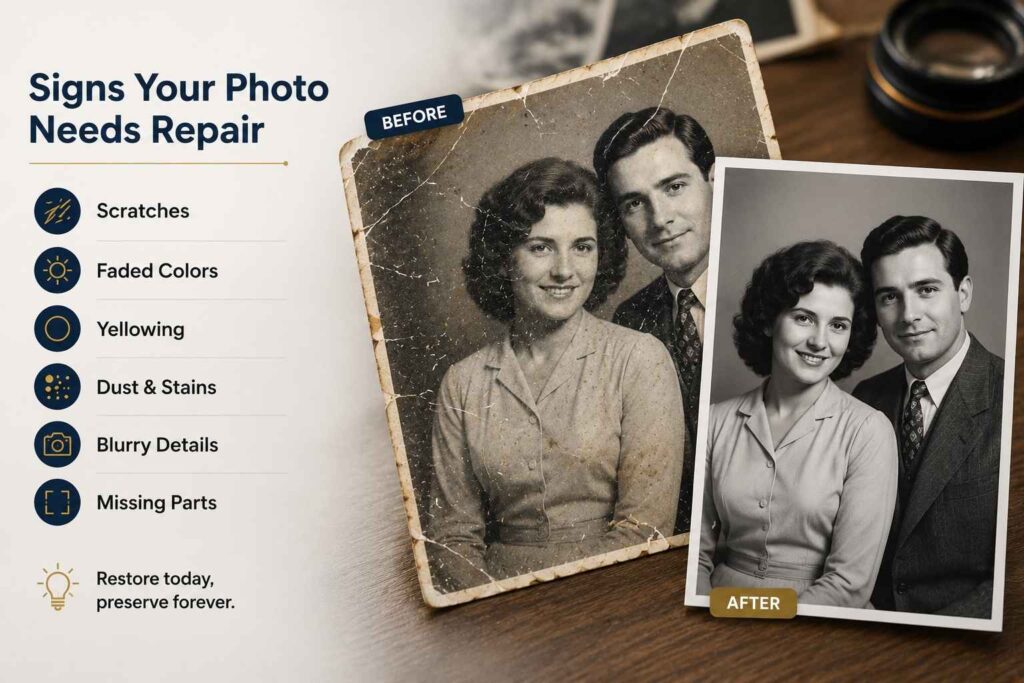
Some photographs show obvious damage immediately, while others gradually deteriorate over many years.
Common signs include:
- Visible scratches across important parts of the picture
- Faded or dull colors
- Yellowish discoloration
- Dust spots and stains
- Loss of sharpness
- Missing details in damaged areas
If you notice these problems, it’s the right time to remove scratches from photo prints and restore colors before the damage becomes more severe.
Why Do Photos Get Scratched?
Photographs may look durable, but their printed surfaces are surprisingly delicate. Even careful handling cannot completely prevent wear over time. Knowing what causes scratches can help you protect both old and newly repaired photographs.
Improper Handling
A very common cause of scratches on images is the inappropriate handling of photographs. If one handles the photograph with dirty hands or stacks them in loose prints on a hard surface, the small scratches will accumulate over time to create more visible marks.
Contacting the actual printing surface will leave fingerprints which will be likely to trap dust particles.
Poor Storage Conditions
Storage plays a major role in preserving photographs. Images stored in cardboard boxes, low-quality albums, or humid environments are more likely to develop scratches, stains, and fading.
Using acid-free albums, archival storage sleeves, and cool, dry environments helps reduce physical damage and preserve image quality for decades.
Dust, Moisture, and Environmental Damage
Though seemingly innocuous, dust becomes an abrasive element when photographs are improperly cleaned. Exposure to moisture causes damage to the protective film covering printed photographs, which in turn makes it easier to scratch photographs.
Sunlight too is a contributing factor to fading that requires the restoration of colors.
Natural Aging
Despite the proper storage, all photographs will still go through the natural aging process. The older photographic paper is, the more fragile it is and the easier it can get scratched. Regular viewing, traveling, and exposure will only make it deteriorate.
The older the photo is, the more delicate handling it requires and the faster the damage should be fixed.
How to Remove Scratches from Photo
A scratched photograph does not always need to be replaced. There is a way to restore a scratched photo that will restore the picture and enhance its appearance. It all depends on how deep the scratch is and how old the photograph is.
Scan the Original Photograph at High Resolution
This process starts with scanning the photo to get a good digital copy. This can be done by scanning the picture at 600DPI or more so that even those details that cannot be seen through the naked eye are captured. The high-quality scan also helps to zoom in and fix the damaged parts of the photo.
Benefits of high-resolution scanning include:
- Preserving the original photograph by reducing handling
- Capturing fine textures and details
- Making scratch removal more accurate
- Creating a digital backup for long-term storage
If you don’t own a scanner, many professional print shops and photo labs offer high-resolution scanning services.
Remove Light Scratches Using Editing Software
Once the photograph has been scanned, editing software can help repair minor surface damage. Most professional image editing programs include tools designed specifically for removing scratches and small imperfections.
Some commonly used tools include:
- Spot Healing Brush
- Healing Brush Tool
- Clone Stamp Tool
- Patch Tool
- Content-Aware Fill
These tools work by replacing damaged pixels with information from nearby areas, allowing scratches to blend naturally into the image. They are particularly effective for removing fine lines, dust spots, and small abrasions.
If you’re learning to remove scratches from photo prints yourself, work slowly and zoom in while editing. Making small adjustments produces more natural results than trying to repair large areas at once.
Repair Deep Scratches Manually
Scratches that are deeper become problematic since they tend to destroy some crucial components of an image. Although automated correction programs are able to smooth out scratches, they are unable to restore the deleted pixels.
When repairing manually, one needs to rebuild the affected areas by recreating patterns, textures, and colors from the surrounding sections. Experienced people restore such elements as facial features, clothes, background, and anything else to make the reconstructed area look like it belongs there.
This procedure is time-consuming and requires some experience, yet it leads to much better results.
Save the Repaired Image in High Quality
After repairing the photograph, save the final image in a format that preserves as much detail as possible.
Recommended formats include:
- TIFF for archival-quality storage
- PNG for lossless digital copies
- High-quality JPEG for sharing and printing
Keeping multiple backups on cloud storage and external drives helps ensure your repaired photographs remain safe for future generations.
Best Ways to Restore Colors in Old Photos
Once the scratches have been treated, it becomes necessary to restore the color that has been lost due to fading. The colors of old pictures fade due to exposure to sunlight and humidity and also because of the aging of the paper on which the photograph has been taken.
Correct Faded and Yellowish Tones
Most old photographs slowly take on a yellow, brown, or grayish hue. Such discolored photographs often make people, their clothes, and even the background appear lifeless.
However, professional retouching addresses such problems by equalizing colors and removing any unnecessary color tones from the photograph. The point here is not to enhance brightness but to restore natural-looking tones.
Common corrections include:
- Removing yellow discoloration
- Correcting faded reds and blues
- Balancing overall color temperature
- Recovering natural skin tones
Adjust Brightness and Contrast
Brightness and contrast adjustments improve depth and visibility throughout the image.
Increasing brightness carefully reveals hidden details in darker areas, while proper contrast enhances separation between subjects and backgrounds.
Balanced adjustments help:
- Reveal facial expressions
- Improve clothing details
- Enhance landscapes and backgrounds
- Increase overall image clarity
Making these corrections gradually ensures the photograph retains a natural appearance.
Enhance Overall Image Quality
Once the colors have been corrected, additional refinements help complete the repair process.
These enhancements may include:
- Improving sharpness
- Reducing digital noise
- Increasing texture clarity
- Balancing highlights and shadows
Together, these adjustments make the photograph appear cleaner and more visually appealing without changing its original character.
DIY vs. Professional Image Repair

In determining how to fix a torn photograph, many people ask whether they can edit the photo themselves or opt for professional help. This is because both methods have their pros and cons; however, everything depends on the severity of the problem.
When DIY Editing Is Enough
DIY editing software works well for photographs with light damage. If your image only has small scratches, minor fading, or a few dust spots, modern editing programs can often produce satisfying results.
DIY editing is ideal for:
- Light surface scratches
- Basic color adjustments
- Minor dust removal
- Simple brightness and contrast corrections
It is also a good option for beginners who want to learn basic image editing techniques.
When Professional Editing Is the Better Choice
Photographs with deep scratches, missing sections, heavy discoloration, torn edges, or complex damage require more advanced editing techniques.
Professional editors manually reconstruct damaged areas while carefully preserving facial features, textures, and fine details. They also use advanced color correction methods to restore colors naturally rather than simply increasing saturation.
Professional editing is recommended for:
- Valuable family photographs
- Wedding and anniversary pictures
- Historical images
- Pictures with severe physical damage
- Images intended for large prints
Although professional services require a greater investment, they often produce results that are difficult to achieve using automatic tools alone.
Choosing the Right Solution
If your goal is simply to improve a lightly damaged photograph, DIY software may be enough. However, if the picture has significant sentimental value or extensive damage, professional image editing offers greater precision and long-lasting results.
Conclusion
It is not necessary for the scratched image to remain flawed forever. There are some ways through which one can restore his/her photographs, which involve removal of scratches, revelation of lost details and recovering colors that have faded away. This is particularly useful when you want to repair a valued picture be it a family photo, wedding or childhood photograph.
For scratch repairs in photographs, the DIY editing methods might do well. Nevertheless, photographs with heavy scratches, lost details or faded colors will require professional image editing as the results achieved in the process will be more natural and accurate.
After getting your photographs restored, ensure that they are well protected in albums and kept safe from any damage.
Leave a Reply